Hey guys!
Today, I’m going to be showing you some design’s that you can make all by yourself, using only a few materials to create your very own bookish mug!
PLEASE READ: I am only using these mugs for decor and storage, so I did not use oil based sharpies or bake it in the oven. I will not be drinking out of this mug.
Materials:
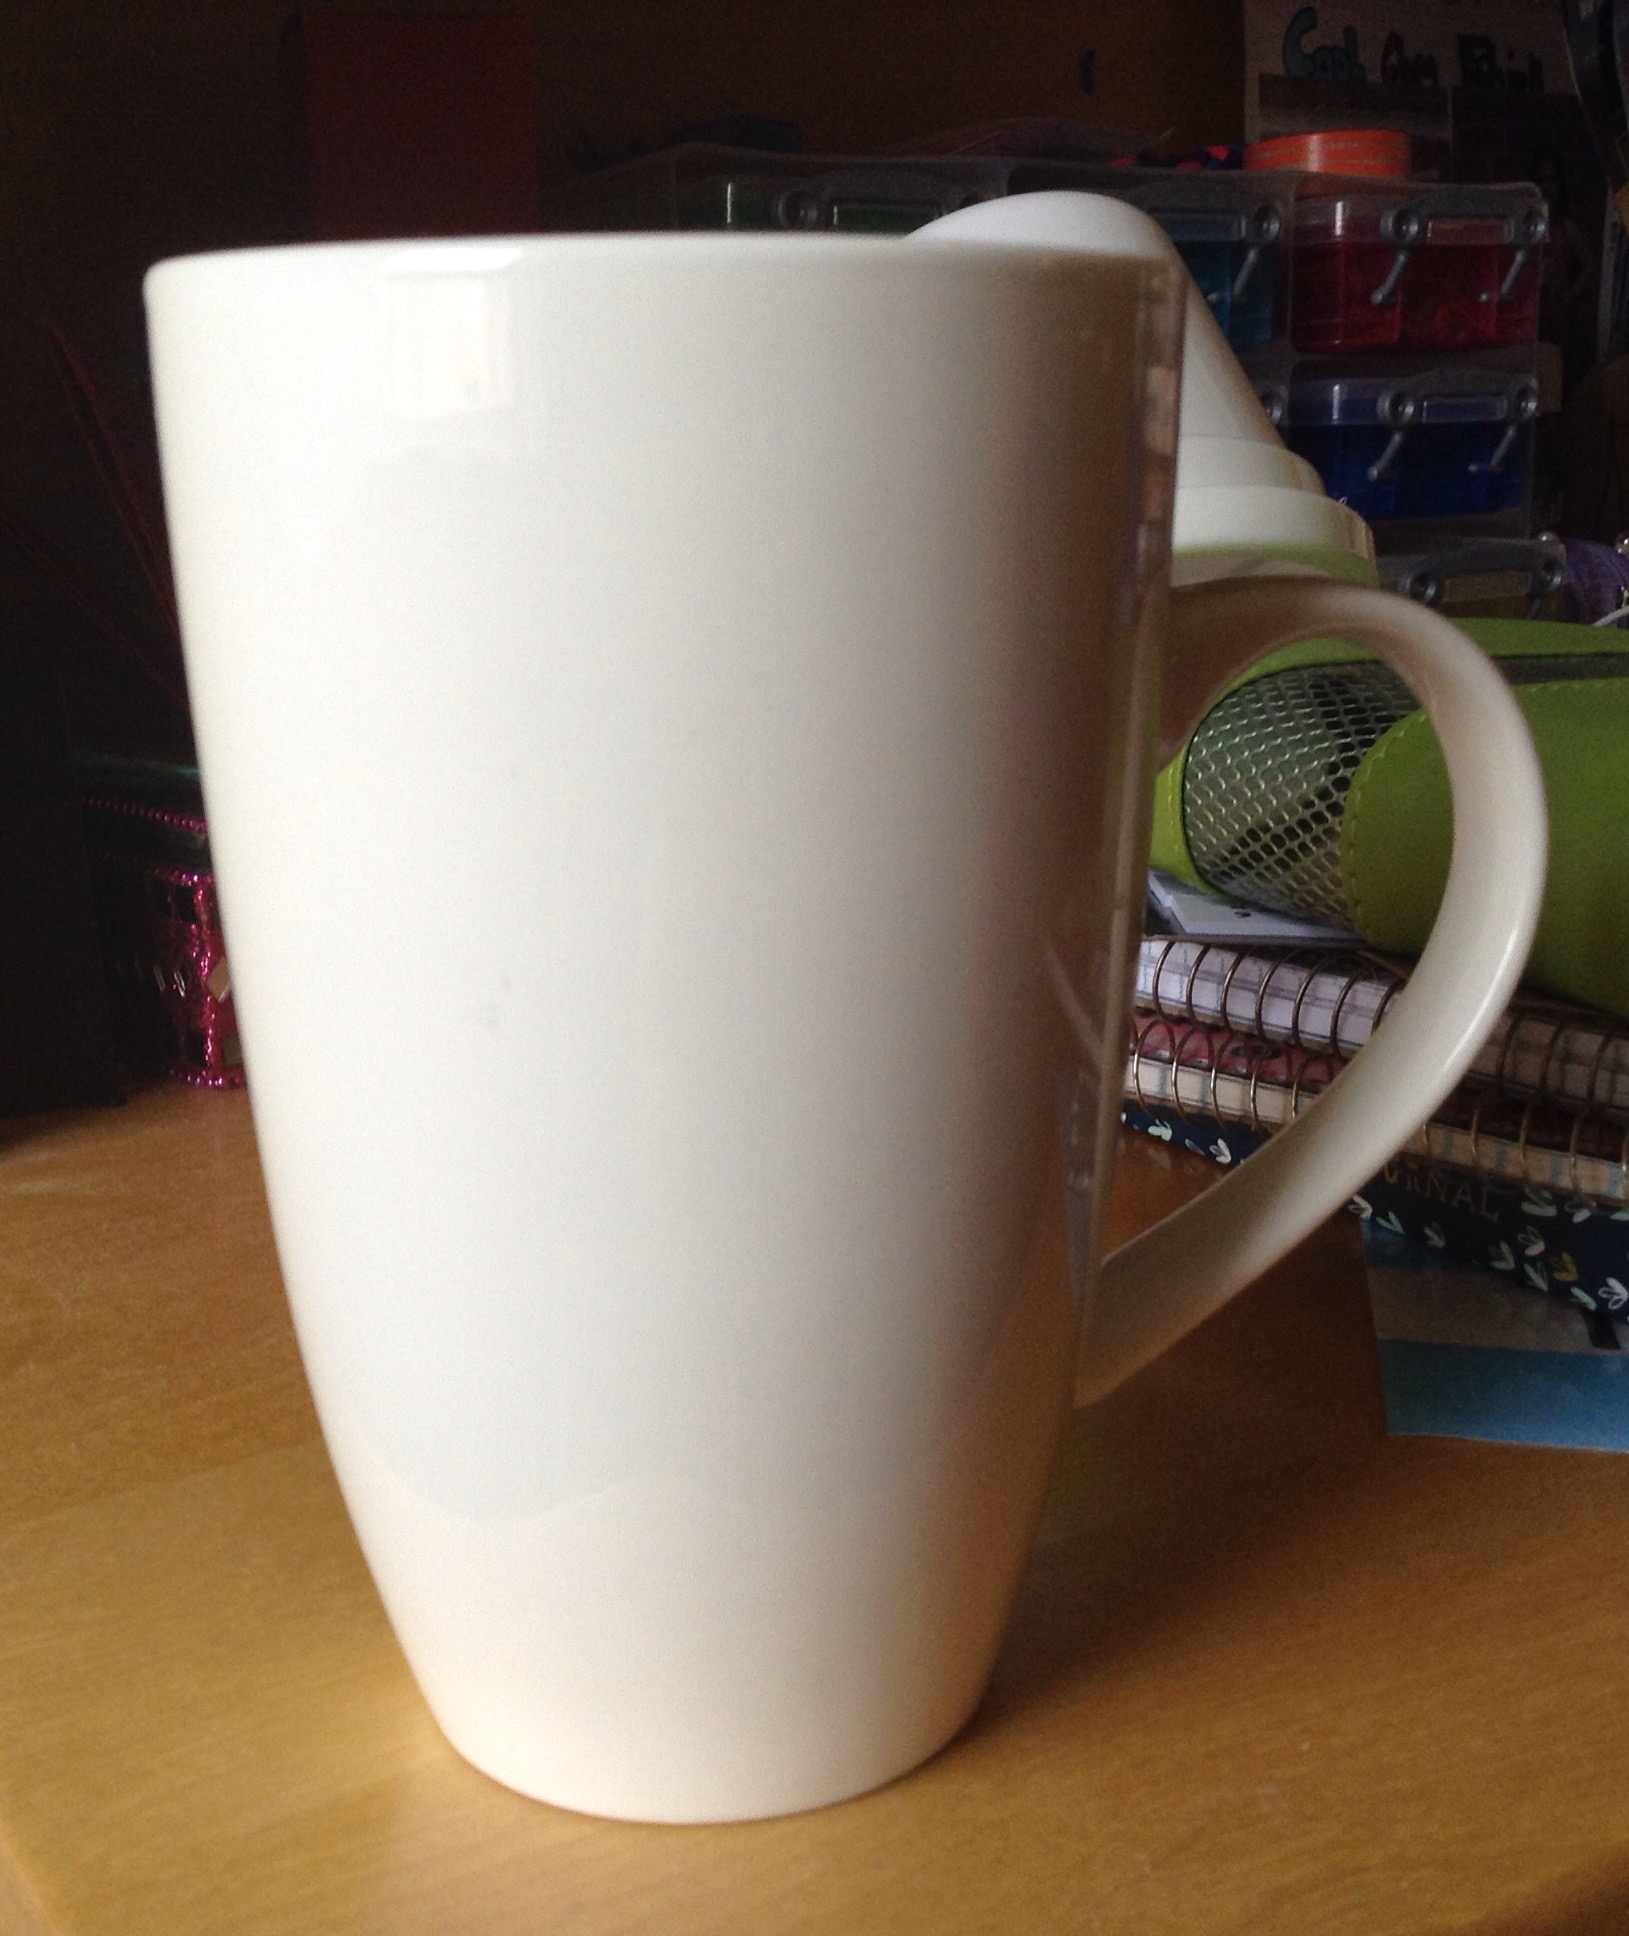
- Blank/White Mug
- Sharpies (I used Black and Silver)
- Pencil

First, I purchased a white mug (I actually got 2) from my nearest Dollar store. They were $1.25 each.

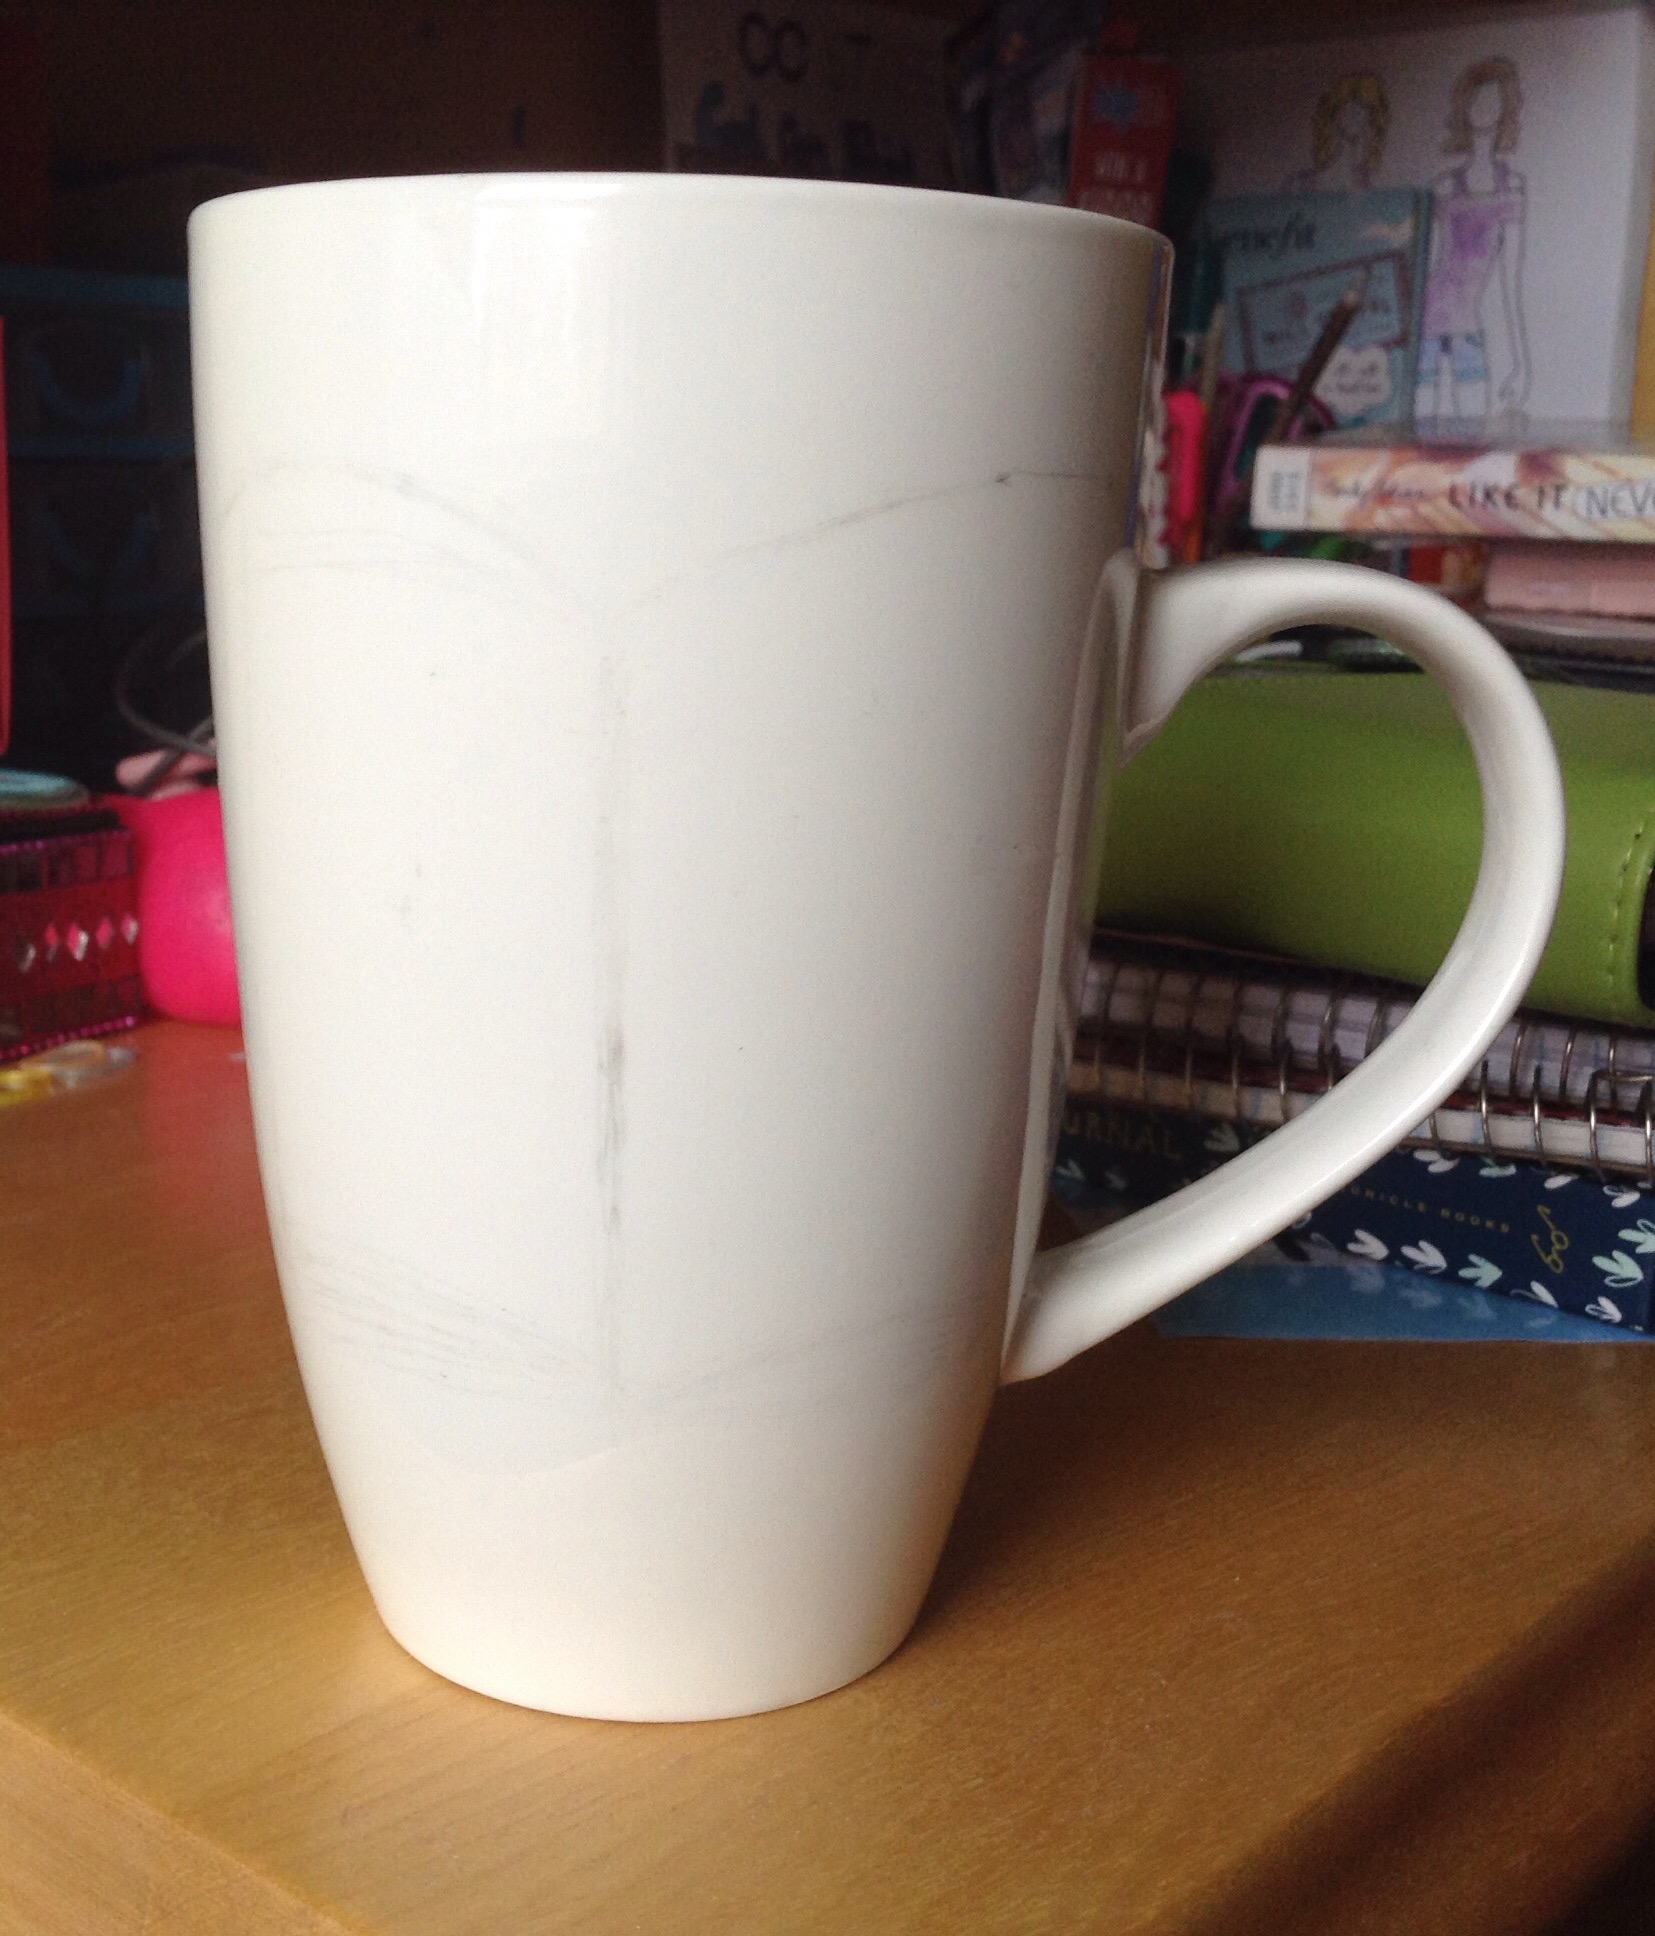
I then sketched out my designs with a pencil first. I used an HB pencil, but I’m sure others would work, too! Feel free to get inspiration Online.

Finally, I outlined my mug’s, and here is how the first one turned out! For the front side, I drew an open book with a picture in the right corner! By the picture you can’t tell, but I used the silver sharpie for outlining the “words” (squiggly lines” and picture.

On the back of the previous mug, I included my favourite bookish quotes! Here are the ones I used:
- Books belong to their readers.
- Everybody should believe in something, I believe I’ll read the next chapter.
- You can’t buy happiness, but you can buy books, and that’s kind of the same thing!

For my second mug, I wrote the word “Reading” all the way around it, and coloured the outer part of the handle in a thick silver sharpie, a well as the dots.
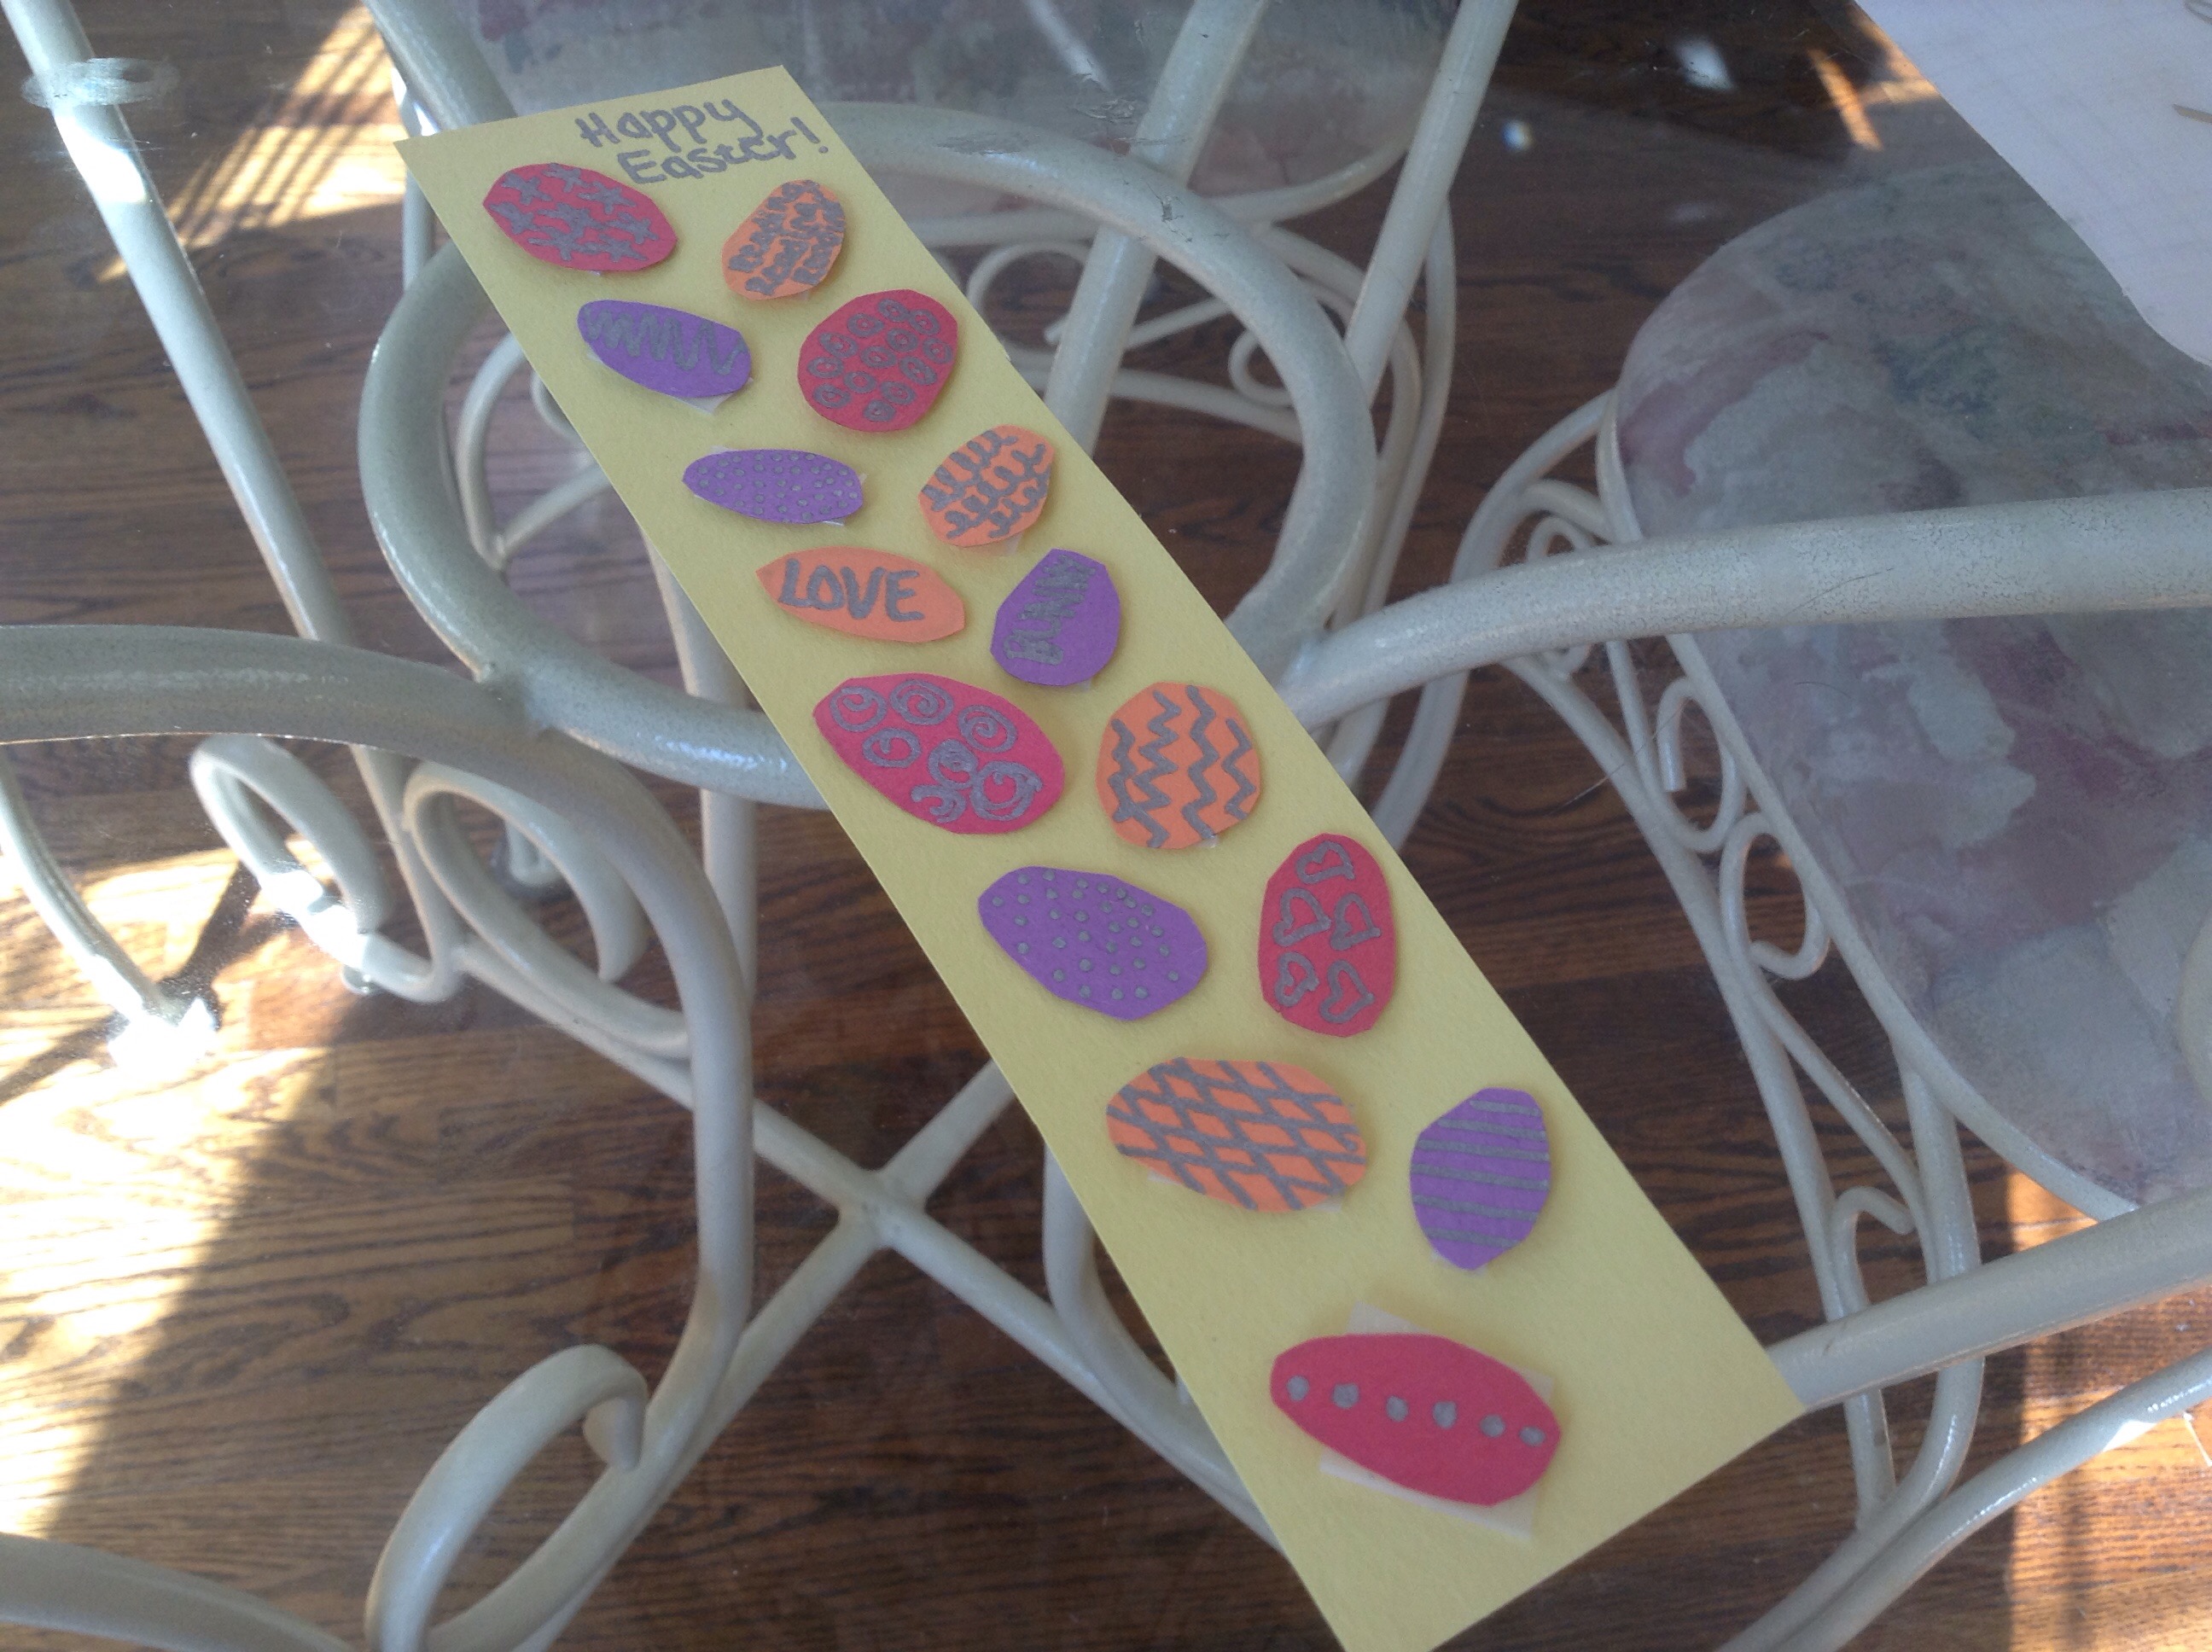
I hope you enjoyed my DIY Bookish Mugs! Many of you seem to love my diy’s, and if you do stay tuned to my Easter bookmark DIY! I worked really hard on these mugs, and it definitely payed off!
Anyone who will be celebrating Passover tonight, Happy Pesach (Passover)!
Also, I wanted to answer a VERY popular question I get asked almost every time I make a DIY and take pictures. This question is; “What camera do you use for your pictures?” Surprisingly, I actually just use my iPad Mini 2nd Generation! I like to “enhance” my photos and mix up a ton of pictures so that the quality looks gorgeous. I have the WordPress app for iPad downloaded, so I upload my pictures in a draft post, and then I can access them by clicking the “Add Media” section once I do a post with them!
I will see you guys tomorrow for a new post!
Good Night Book Lions!